
The Course
James Braid Design
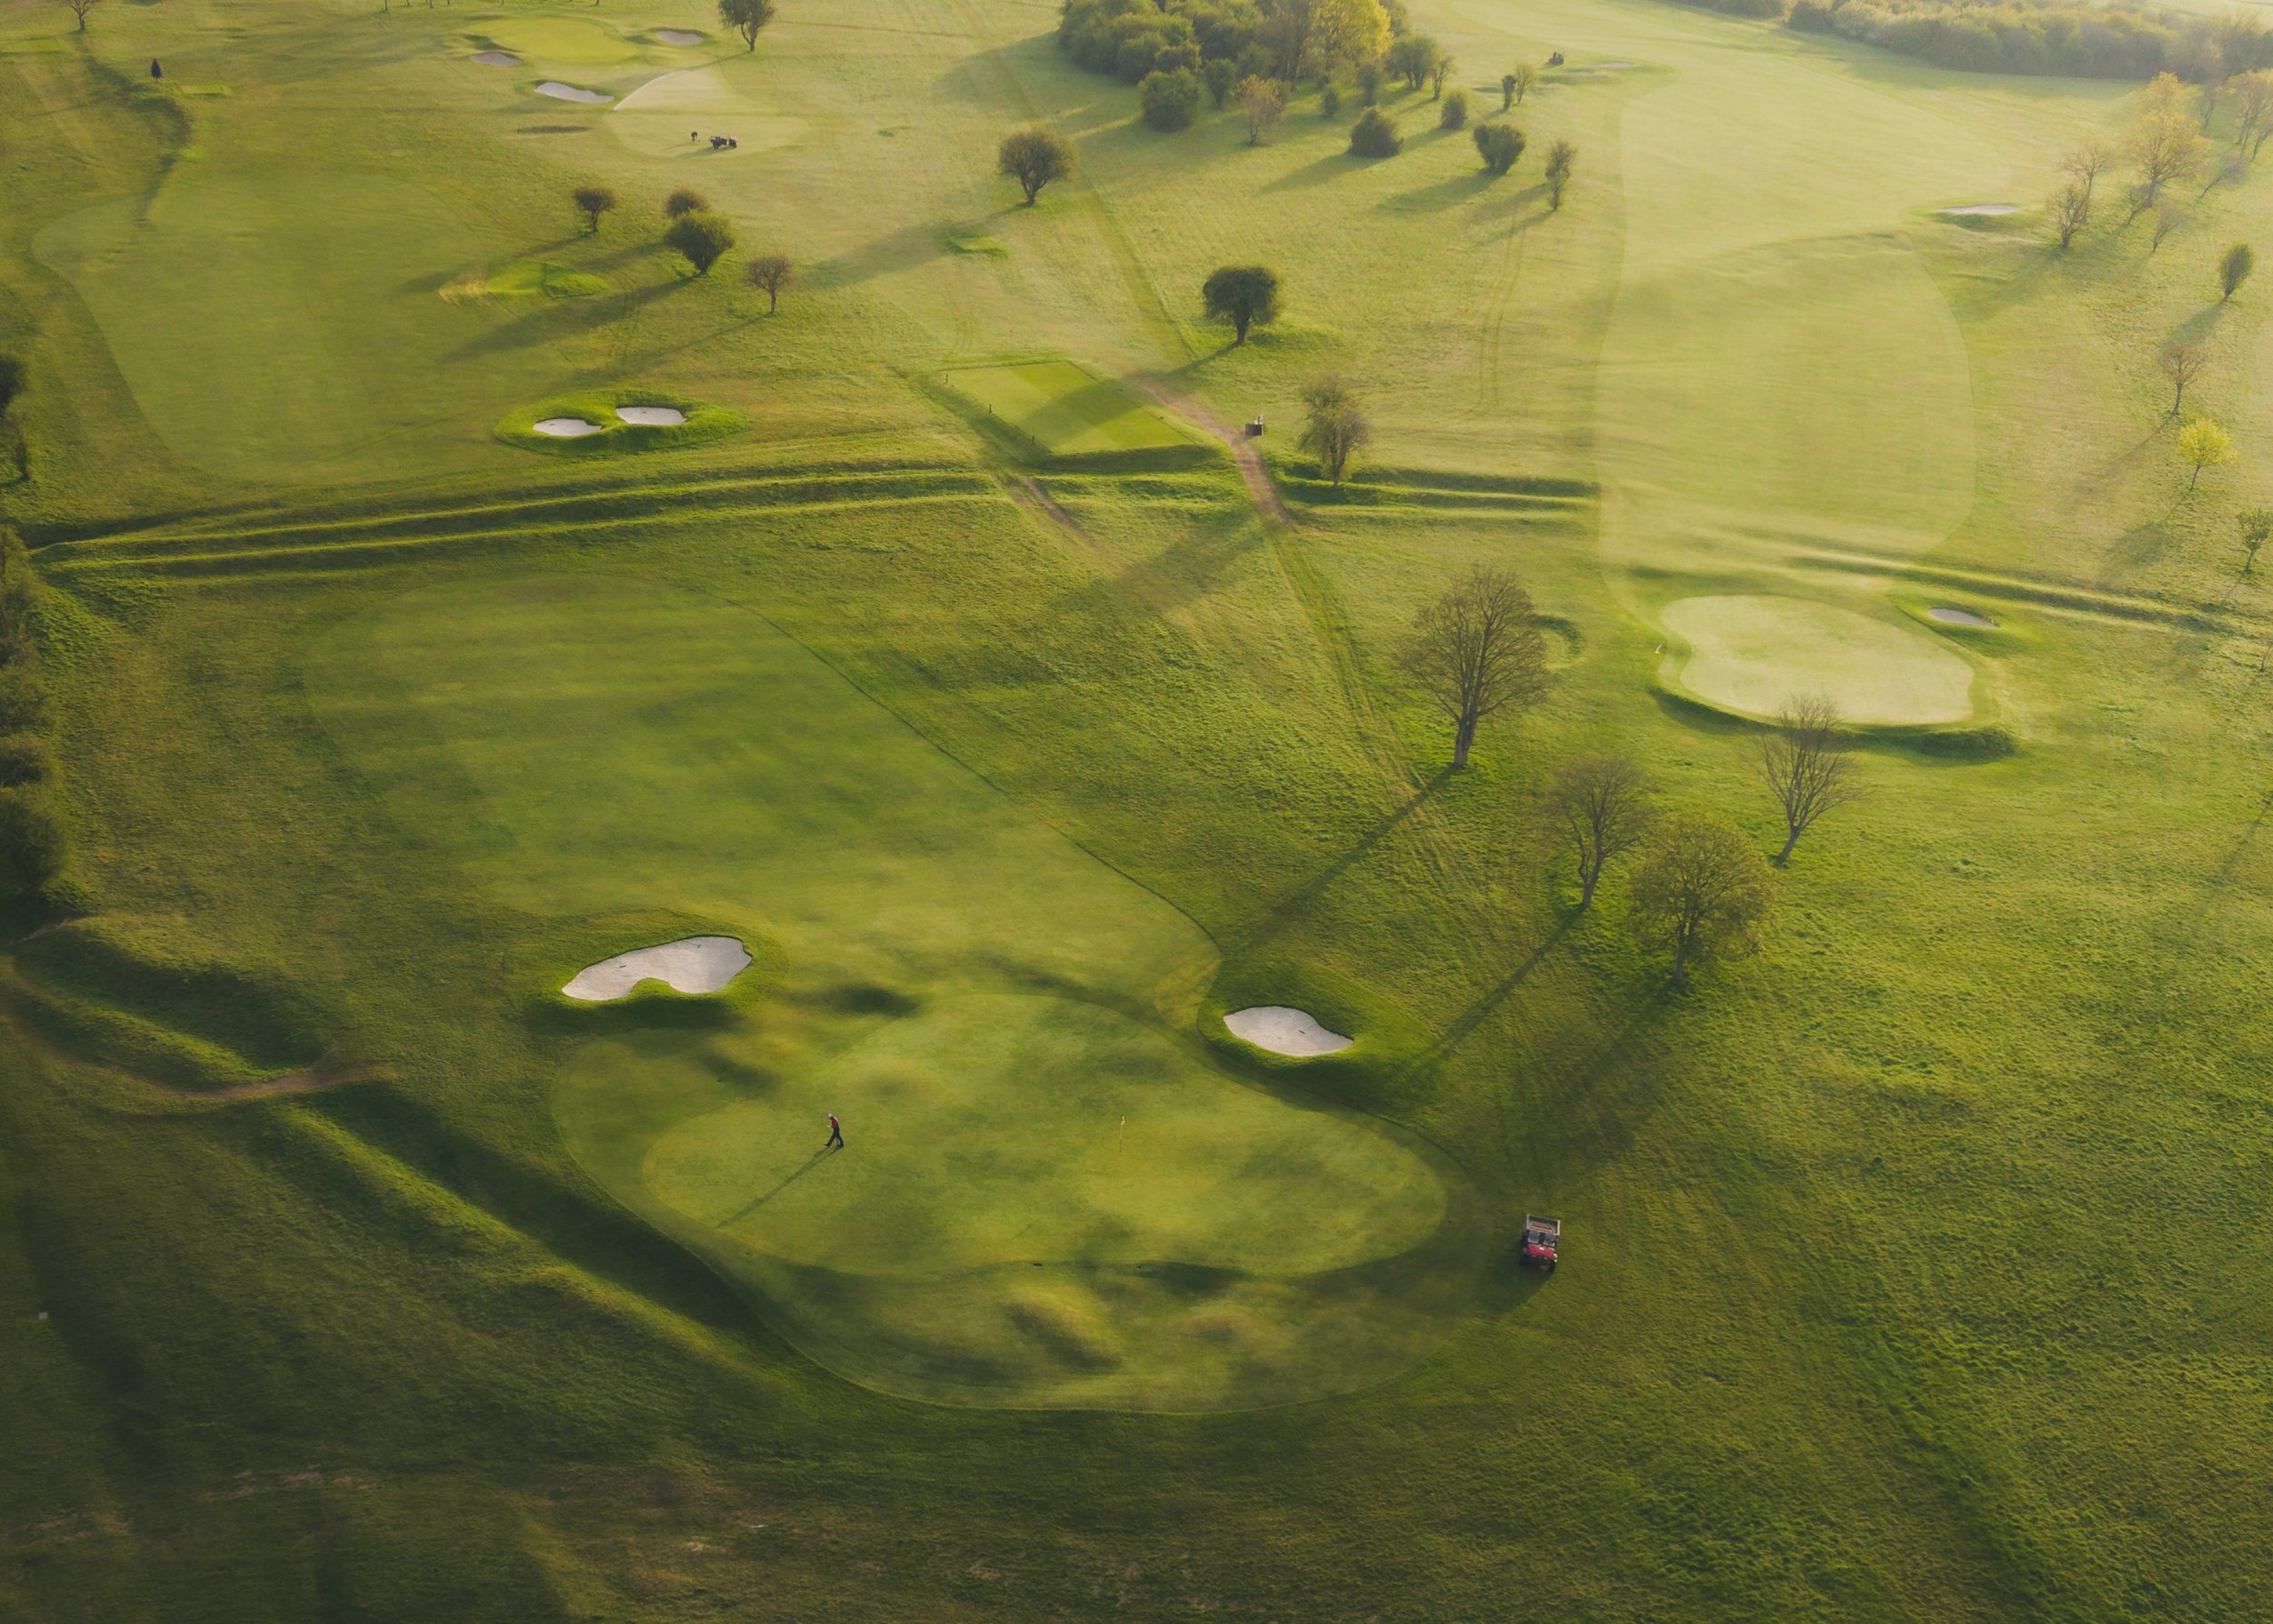
Hockley Golf Club’s course offers a stunning and challenging experience for golfers of all abilities. Designed by the renowned James Braid, one of golf’s great course architects, Hockley showcases his expertise with a layout that blends strategic play with natural beauty. Braid’s influence can be seen in the course’s clever use of elevation, strategic bunkering, and well-placed hazards, encouraging thoughtful shot-making and rewarding precision. Set amidst rolling Hampshire countryside, the course provides a perfect balance of tradition and challenge, offering an unforgettable golfing experience that reflects Braid’s timeless design philosophy.

Scorecard & Handicap Calculator
Hole 1
A relatively straightforward opening hole, guiding you gently up through the valley. The fairway subtly cambers toward the centre, so even a slightly wayward tee shot can often find safe ground. The challenge comes on and around the green, which is two-tiered. Choosing the correct tier is key to giving yourself a birdie opportunity. A greenside bunker short right is well-placed to catch any misjudged approach, making the up-and-down a tricky test. Play the hole with care and aim to start your round on a positive note.
Black – Par 4 – 375 yards – Stroke Index 9
Green – Par 4 – 351 yards – Stroke Index 9
Blue – Par 4 – 332 yards – Stroke Index 7
Hole 2
A demanding dogleg left from an elevated tee, where finding the fairway is essential. The fairway slopes right to left, and the approach to the two-tiered green follows the same line, so both shots require precision to give yourself a realistic birdie chance. The green is protected by a strong front-left bunker and a large run-off at the back. With a low stroke index, this hole presents a stern test early in the round.
Black – Par 4 – 435 yards – Stroke Index 5
Green – Par 4 – 404 yards – Stroke Index 5
Blue – Par 4 – 381 yards – Stroke Index 3
Hole 3
A challenging hole with a fairway guarded by several bunkers, demanding a solid tee shot. The fairway camber helps slightly, but placement is key, and the best angle to the green often favours the left or right depending on the pin. The green slopes sharply from back to front, so avoid leaving the ball long, as it can result in a difficult putt or up-and-down.
Black – Par 4 – 369 yards – Stroke Index 7
Green – Par 4 – 340 yards – Stroke Index 7
Blue – Par 4 – 309 yards – Stroke Index 9
Hole 4
The toughest hole on the course, playing long and uphill from the championship tees. A strong, well-placed drive is essential to give yourself a chance to reach the green in two. The green slopes back to front, so take enough club to carry the pin and avoid leaving yourself a tricky putt. This hole demands focus and precision from tee to green.
Black – Par 4 – 448 yards – Stroke Index 1
Green – Par 4 – 416 yards – Stroke Index 1
Blue – Par 4 – 401 yards – Stroke Index 11
Hole 5
Danger lurks on this first par 3 of the course. Heavy undulations to the left and a significant drop-off to the right demand a well-struck tee shot. The green is one of the fastest on the course and slopes sharply, so leaving your ball in the wrong position can result in a very tricky putt. Precision on both the tee and the green is essential here.
Par 3 – 158 yards – Stroke Index 15
Par 3 – 152 yards – Stroke Index 15
Par 3 – 137 yards – Stroke Index 17
Hole 6
A short par 4 that looks straightforward but still requires a well-placed tee shot. You can choose to lay up to your preferred yardage or take on the green, but like many at Hockley, danger surrounds the putting surface. Run-offs at the back and a back-to-front slope mean your approach must be carefully measured. With the green shared with the 13th, always ensure it’s clear before hitting. Accurate play is rewarded here, while a misjudged shot can leave a tricky up-and-down.
Par 4 – 278 yards – Stroke Index 17
Par 4 – 271 yards – Stroke Index 17
Par 4 – 257 yards – Stroke Index 15
Hole 7
A demanding dogleg right, often played into the wind, where two strong shots are required just to secure par. Fairway bunkers can catch even well-struck drives, and the approach to the green is undulating, with slopes that can move the ball from right to left. The green is tricky, with breaks on every putt, making careful judgement essential. A low stroke index reflects the challenge this hole presents.
Par 4 – 450 yards – Stroke Index 3
Par 4 – 440 yards – Stroke Index 3
Par 4 – 409 yards – Stroke Index 1
Hole 8
A long, uphill par 3 with a heavily guarded green. Many shots come up short, so selecting enough club is essential to reach the putting surface and avoid trouble.
Par 3 – 202 yards – Stroke Index 11
Par 3 – 192 yards – Stroke Index 11
Par 3 – 182 yards – Stroke Index 13
Hole 9
A strong tee shot is required to navigate two well-placed fairway bunkers before the historic ditches that mark the site of an ancient monument and Roman villa beneath. The approach demands precision, with two penalising bunkers guarding the front and left of one of the most undulating greens you will ever play.
Par 4 – 385 yards – Stroke Index 13
Par 4 – 377 yards – Stroke Index 13
Par 4 – 330 yards – Stroke Index 5
Hole 10
A long par 4 that begins the back nine from the top of the valley. Two well-placed bunkers guard the right side of the fairway, while the green is protected by three surrounding bunkers. Accurate play off the tee and into the green is rewarded with a strong start to the back nine.
Par 4 – 394 yards – Stroke Index 4
Par 4 – 348 yards – Stroke Index 4
Par 4 – 327 yards – Stroke Index 8
Hole 11
A long par 5 where a well-placed drive can open up the hole. Played as a three-shot hole, the second shot should leave you in a preferred position with good yardage into a green that is long and demanding. Accurate distance control on the approach is essential to give yourself a realistic birdie opportunity.
Par 5 – 550 yards – Stroke Index 8
Par 5 – 524 yards – Stroke Index 8
Par 5 – 489 yards – Stroke Index 2
Hole 12
Short but demanding, this par 3 requires both accuracy and precise distance control. A shot left short will find a tricky bunker, while missing right can leave a difficult up-and-down. The green slopes toward the valley, so careful judgement on the putt is essential. A well-struck iron can set up a genuine birdie opportunity, but this hole will punish any wayward shots.
Par 3 – 132 yards – Stroke Index 14
Par 3 – 126 yards – Stroke Index 14
Par 3 – 118 yards – Stroke Index 16
Hole 13
A short par 4 where accuracy off the tee is more important than distance. While some may attempt to drive the green, it’s usually better to leave yourself a comfortable yardage to attack the pin. The green slopes sharply from back to front, so anything left long can result in a very tricky putt. Shared with the 6th hole, always ensure the green is clear before playing your approach.
Par 4 – 280 yards – Stroke Index 16
Par 4 – 267 yards – Stroke Index 16
Par 4 – 241 yards – Stroke Index 12
Hole 14
A true three-shot par 5 that rewards patient play. The tee shot requires careful attention, followed by a lay-up to a preferred yardage, setting up an uphill approach to a three-tiered green. Choosing the correct tier is essential. With a low stroke index, this par 5 can be very punishing, so avoid being greedy.
Par 5 – 548 yards – Stroke Index 2
Par 5 – 522 yards – Stroke Index 2
Par 5 – 449 yards – Stroke Index 6
Hole 15
A solid par 4 where tee shot placement is key. The green slopes heavily from right to left, so plan your approach accordingly, as all balls will feed in that direction. Two well-struck shots can set up a strong birdie opportunity, but accuracy and discipline are essential.
Par 4 – 340 yards – Stroke Index 12
Par 4 – 329 yards – Stroke Index 12
Par 4 – 311 yards – Stroke Index 10
Hole 16
A strong par 3 where the approach feeds into the front of a two-tiered green. Missing left brings a severe drop-off, while right finds a downhill bunker, so precision is essential. A well-struck tee shot is required to find the correct tier and avoid trouble..
Par 3 – 187 yards – Stroke Index 10
Par 3 – 178 yards – Stroke Index 10
Par 3 – 157 yards – Stroke Index 14
Hole 17
A demanding par 4, often played into the wind. The fairway slopes right to left, but hugging the right side gives a flatter approach into the two-tiered green. If the pin is on the back tier, ensure you take enough club to reach it.
Par 4 – 396 yards – Stroke Index 6
Par 4 – 385 yards – Stroke Index 6
Par 4 – 377 yards – Stroke Index 4
Hole 18
A strong finishing par 5 that can reward careful play with a birdie or better. Keeping right of the trees, which guard a fairway bunker, sets up a strong downhill approach into the green. In summer, you can leave your shot short and run it in, or confidently fly it the full distance. Play the hole well and you’ll have a great chance to finish your round on a high note before heading into the clubhouse.
Par 5 – 526 yards – Stroke Index 18
Par 5 – 484 yards – Stroke Index 18
Par 5 – 452 yards – Stroke Index 18